How to use supply and demand zones when trading options
In this guide, you’ll learn how to use supply and demand zones when trading options to enhance your accuracy, manage risk, and trade with confidence.
1. Understanding supply and demand zones
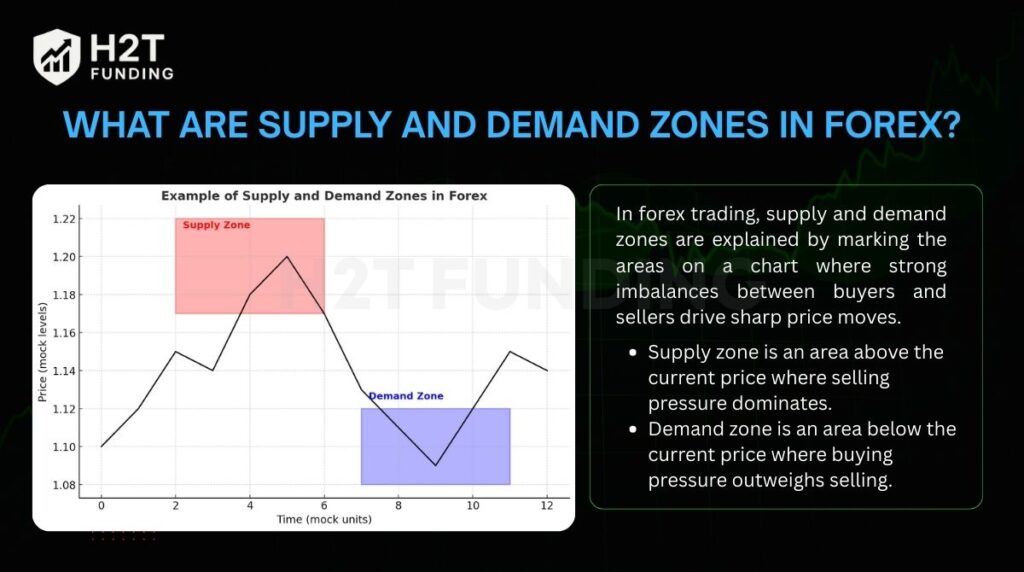 |
| What are supply and demand zones in forex |
Supply and demand zones are price areas that represent strong buying or selling interest. A supply zone forms above the current price, where sellers dominate and resistance builds. A demand zone forms below, where buyers dominate and support strengthens.
These areas reflect order imbalances — footprints of institutional activity that often precede large market moves. When price revisits these levels, it’s likely to react, giving traders a high-probability entry point.
2. Why these zones matter in options trading
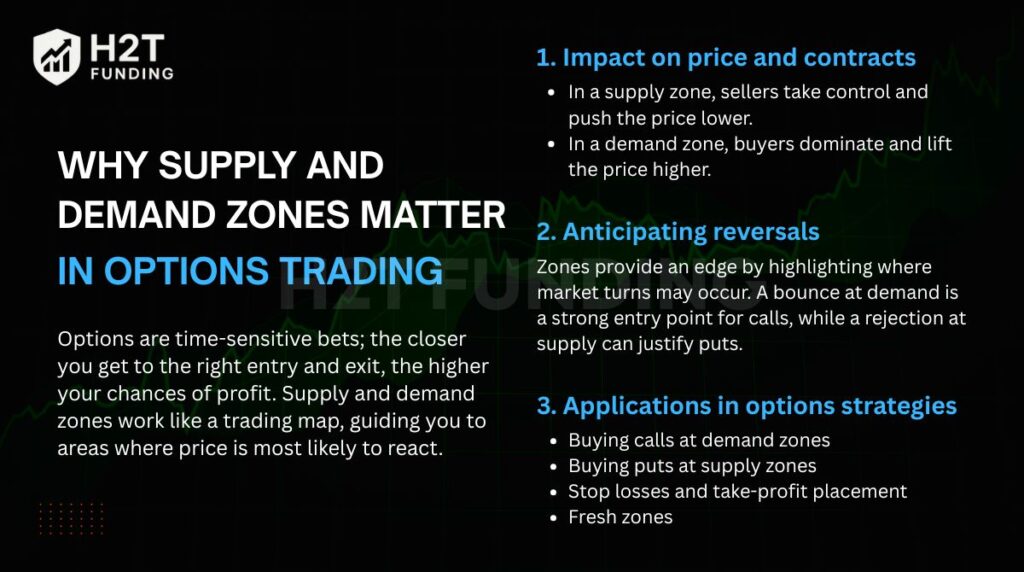 |
| Why supply and demand zones matter in options trading |
In options trading, precision is everything. Enter too soon or too late, and your premium decays. Supply and demand zones act like a navigation system for price movements, showing where reversals or breakouts are likely to occur.
-
Supply zones signal potential reversals downward, ideal for puts or bear call spreads.
-
Demand zones indicate strong buying pressure, ideal for calls or bull put spreads.
By aligning option strategies with these zones, traders gain structure, better risk control, and improved timing.
3. How to identify zones on charts
Spotting zones begins with recognizing sharp price movements:
-
A fast drop after consolidation marks a supply zone.
-
A strong rally after consolidation marks a demand zone.
Draw rectangles to highlight these bases and confirm them using volume analysis, engulfing patterns, or rejection wicks. For better accuracy, use multi-timeframe confirmation — for example, daily for direction, 1H for entry refinement.
4. Applying zones to your options strategy
Supply and demand zones fit seamlessly into different trading styles:
-
Directional trades: Buy calls at demand or puts at supply once reversal signs appear.
-
Credit spreads: Place bull put spreads near demand or bear call spreads near supply for higher probability.
-
Breakouts: Trade pullbacks when zones flip — broken demand becomes new support and vice versa.
This adaptability helps traders navigate volatile conditions with more consistency.
5. Risk management and trade discipline
Even strong zones fail sometimes. Use stop losses just outside zones, risk only 1–2% per trade, and aim for at least a 1:2 reward-to-risk ratio. Avoid overtrading weak levels or ignoring the broader trend. Patience and confirmation are crucial to long-term success.
Conclusion
Mastering supply and demand zones transforms how you view the market. By following where institutions buy or sell, you gain an analytical edge that makes every trade more intentional and structured. Whether you trade weeklies or spreads, these zones help turn volatility into opportunity.
🔗 https://h2tfunding.com/how-to-use-supply-and-demand-zones-when-trading-options/
#funding #h2tfunding #nganpham #finance #howtousesupplyanddemandzoneswhentradingoptions #nganphamh2t


Nhận xét
Đăng nhận xét